Share post:
Do you know how to maximise your rental earnings?
Expand your property’s market reach by listing it on several travel websites and online letting platforms.
A smart rental property investor shouldn’t rely on just one platform to market their rental units. Even if you’re already listed on Airbnb, you’ll get more bookings if you create a listing on other sites – like Vrbo.
This is a travel website company that operates an online marketplace where property owners can list their properties as vacation rentals. It used to be known as Vacation Rentals by Owner and VRBO before it rebranded to Vrbo. This company has headquarters in Austin Texas and is part of Expedia Group (headquarters in Seattle, Washington).
Like Airbnb, Vrbo offers property owners an opportunity to show their properties to a worldwide market of potential guests. It’ll benefit your portfolio to understand what this platform can offer and how it can boost your rental income potential.
In this article, you’ll learn more about Vrbo and how you can create a property profile on their site. You’ll get actionable steps to follow so you can open a new marketplace for your rental property.
Benefits of Listing a Rental Property on Vrbo
Vrbo is one of the most popular short-term rental platforms. Its main market is in the US but it’s also widely used in the UK.
There are many reasons why listing on Vrbo will benefit you.
The first is increased visibility. According to the data from Expedia Group, Vrbo has more than 480 million worldwide page views and 42 million unique visitors each month. On a different statistic page, it’s mentioned that 1.1 million views are from the UK.
The second is high-quality travellers. 65% of Vrbo bookings are families and groups of friends. According to Expedia Group, Vrbo travellers are believed to spend 5x more and stay 3x longer than other types of travellers. So if you get guests from Vrbo, they’re more likely to stay longer, which will lower your vacancy rates.
The third is flexible rental options. Vrbo hosts get full control over your rates and availability. This will allow you to take advantage of peak seasons or local events. Like Airbnb, you are also free to set your own house rules so guests will know how to act accordingly during their stay.
The fourth is a trusted platform. For more than 20 years, Vrbo has provided property owners with a source of extra income – with more than 2 million short-term rentals listed on its platform. It shows that property owners have trusted them for decades.
The fifth is professional support. Vrbo offers round-the-clock support for property owners struggling with their property listing. They also have a resource section where hosts can get information to maximise their rental income on the site.
5-Steps to Create a Vrbo Listing
Listing on Vrbo will increase your short-term rental’s ability to get more bookings. With more bookings, you can boost your monthly rental income and have more than enough to fund your chosen lifestyle or invest in more properties.
To make that happen, you need to create a Vrbo listing first. It’s a straightforward process that you need to complete to create a property profile that’ll attract the right guests to stay in your property.
Here are the 5 steps you need to follow.
Step 1: Complete the Vrbo Requirements
Vrbo will ask for several requirements to verify your ownership and the property being listed. Take the time to gather all the requirements so you can provide accurate data about your rental properties.
These requirements include property photos (at least 6 professional digital photos for each property), rental address (complete the address) and your banking details (for processing and depositing of rental earnings).
Vrbo is very strict about accuracy so don’t provide information or photos that’ll mislead guests into booking (e.g. posting photos of a bigger property, etc). This will lead to issues in your account.
You are also prohibited from posting the same property on multiple Vrbo accounts. Make sure you read Vrbo’s Marketplace Standards and other guidelines.
Step 2: Create a Vrbo Account
Once you’re ready with the requirements, it’s time to create a host account on Vrbo. Visit the Vrbo website and look for the “List your Property” button. You’ll be taken to a page where you’ll have to provide details like the property size, address, etc. This will allow Vrbo to estimate how much you can make if you rent your property on their platform.
You’ll also be required to put in your details like name, email, and the custom password.
Once you hit “Continue,” you’ll be asked to verify the property’s location. You’ll also be required to upload photos and provide details to describe the property. Make sure it’s something that guests will find appealing.
Then, you need to look at the security measures that Vrbo recommends for hosts. Fill out a security information form to implement your choices. You should also set up a payment method to determine how you’ll get your earnings.
Finally, you need to establish your pricing structure. Choose the one that’ll maximise your earning potential.
This will only take a couple of minutes to complete, as long as you have the property details and photos on hand.
Step 3: Access Vrbo Owner Login
Now you are ready to manage your Vrbo account. There are two ways to access it.
The first is through the website. You can log in through your account and then click the “List your Property” button.
The second option is through the Vrbo Owner app. Download and install the mobile app from either Google Play (Android) or App Store (iOS). Once installed, open the app and tap the “List your Property” button.
Access the Vrbo owner login page and enter your email address and the password you set when you signed up for your Vrbo account. Click “Log In” or press the Enter key on your keyboard.
Once you’re in, you can manage your property listings. You can add more and access existing ones. You can also edit your listings so your property profiles will show guests the right information – hopefully to increase bookings.
This page will also give you access to Vrbo fees so you can monitor and see how much you owe. You can also change details like opting for a subscription instead of a pay-per-booking option.
Try to explore the dashboard and listings so you can familiarise yourself with the features of the Vrbo website.
Your account will also give you access to the Vrbo customer service and the vast resource centre that’ll help you manage your property listing to achieve maximum rental income.
Step 4: Add Properties and Optimise Listings
If you have more than one property, you can keep adding them to your Vrbo account. Log in to your account and go to “Properties.” Then tap “List another property” to add a new listing. Follow the same procedure as when you added the first property after creating the Vrbo account.
Optimise all the information about the property. Describe the property in detail. Focus on words that resonate with target guests. If you’re targeting eco-conscious guests, use words like “Eco-friendly apartment in the heart of London.”
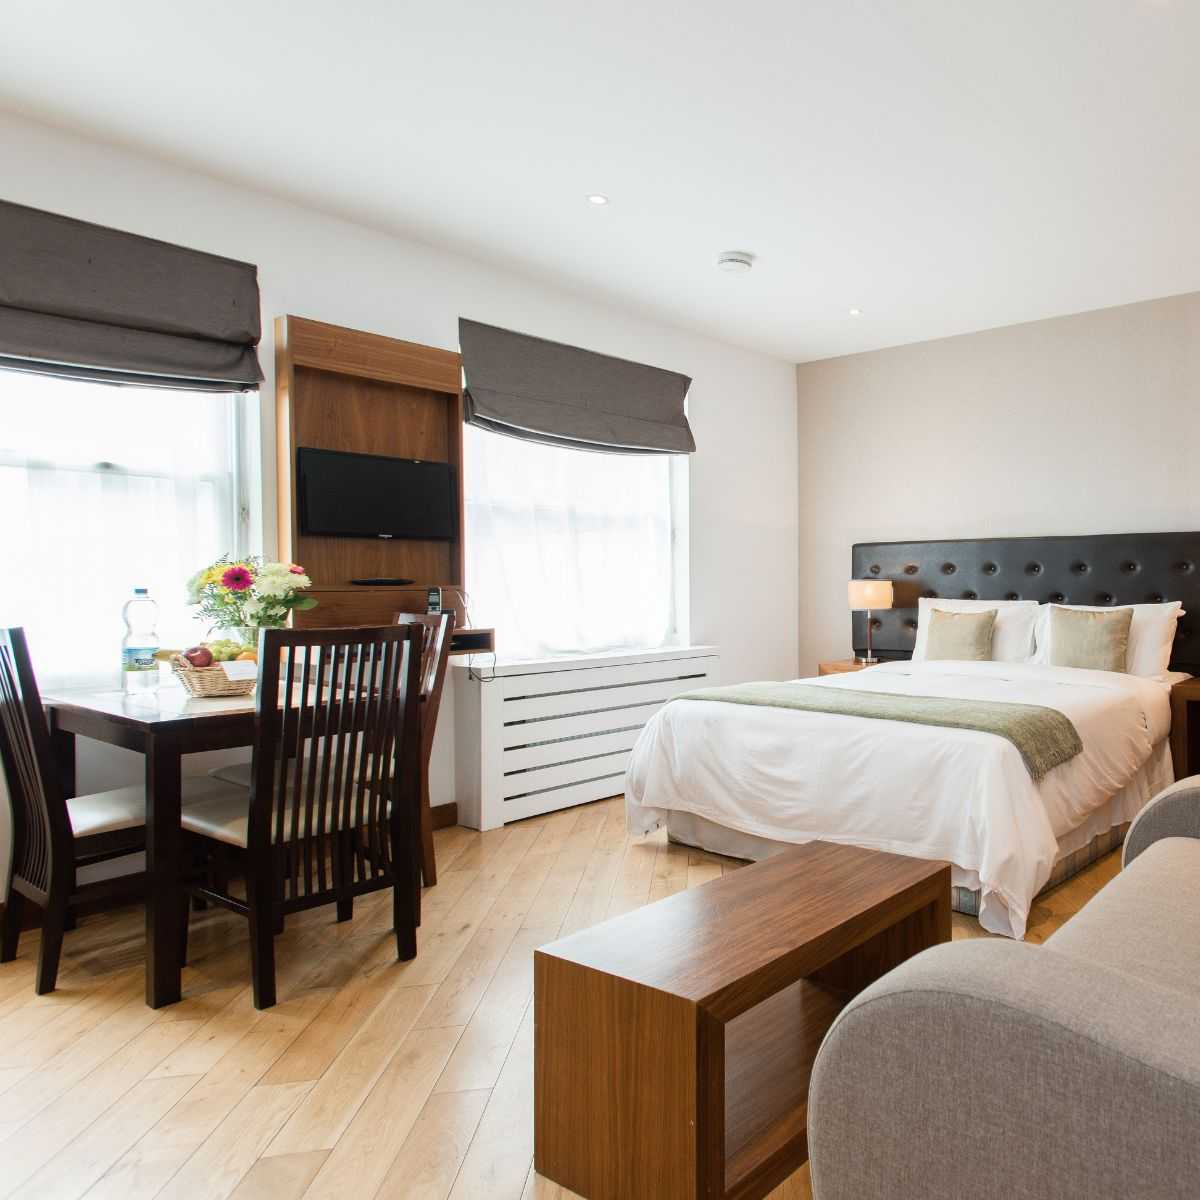
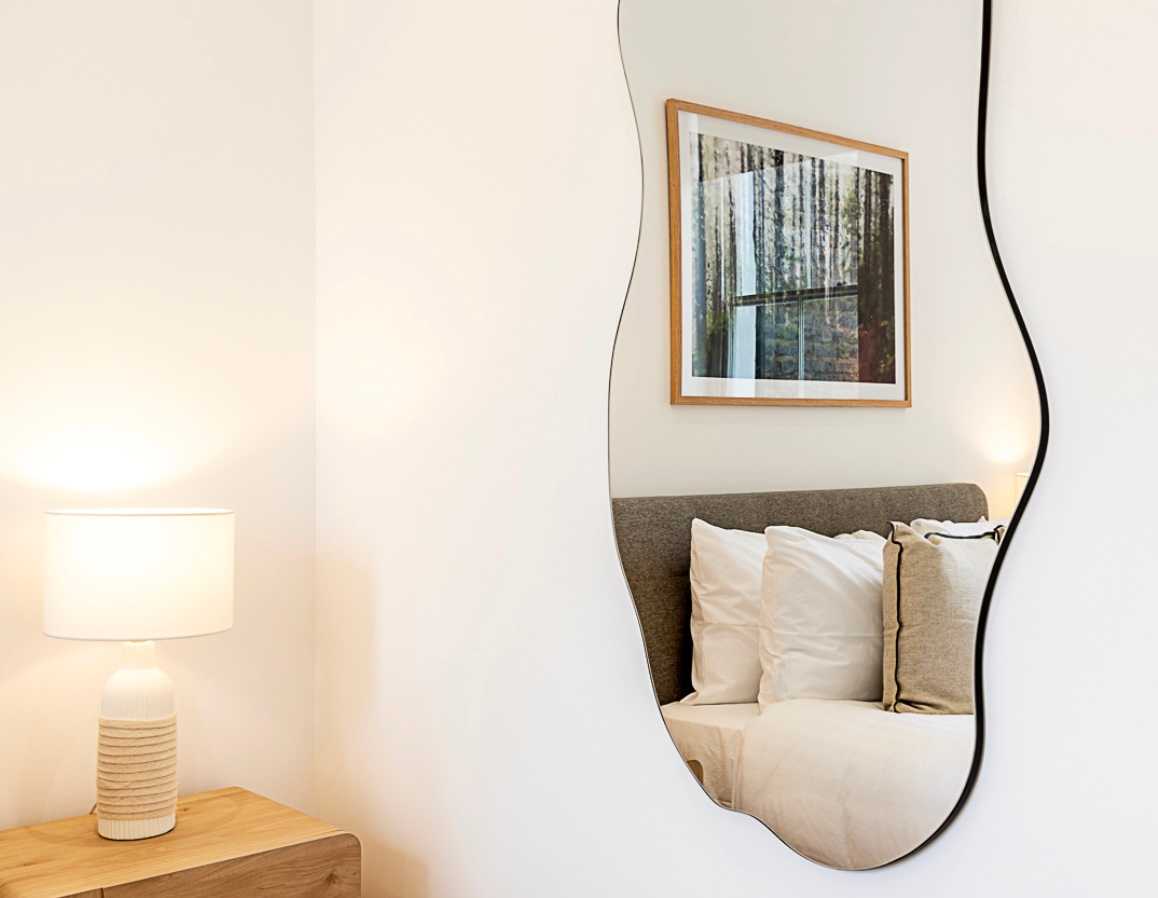
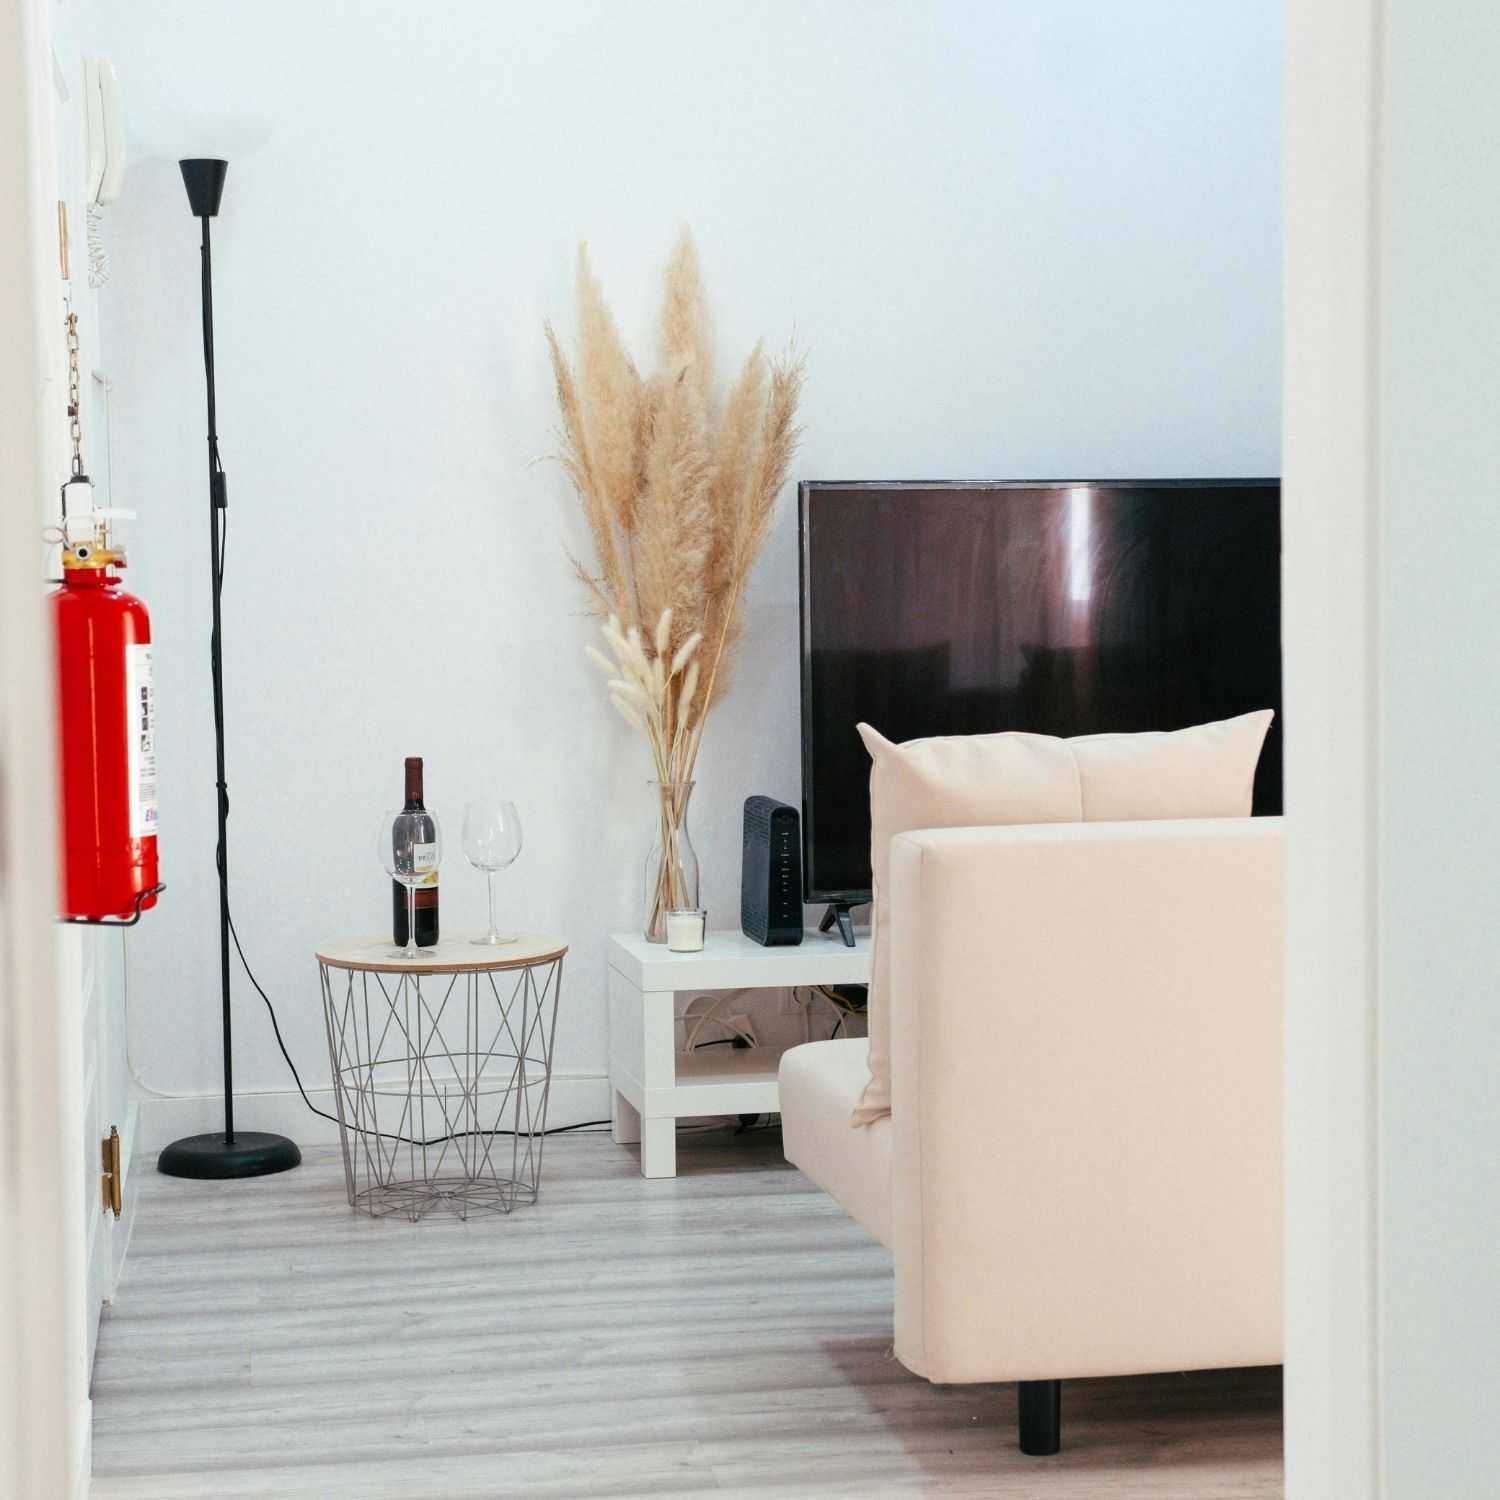
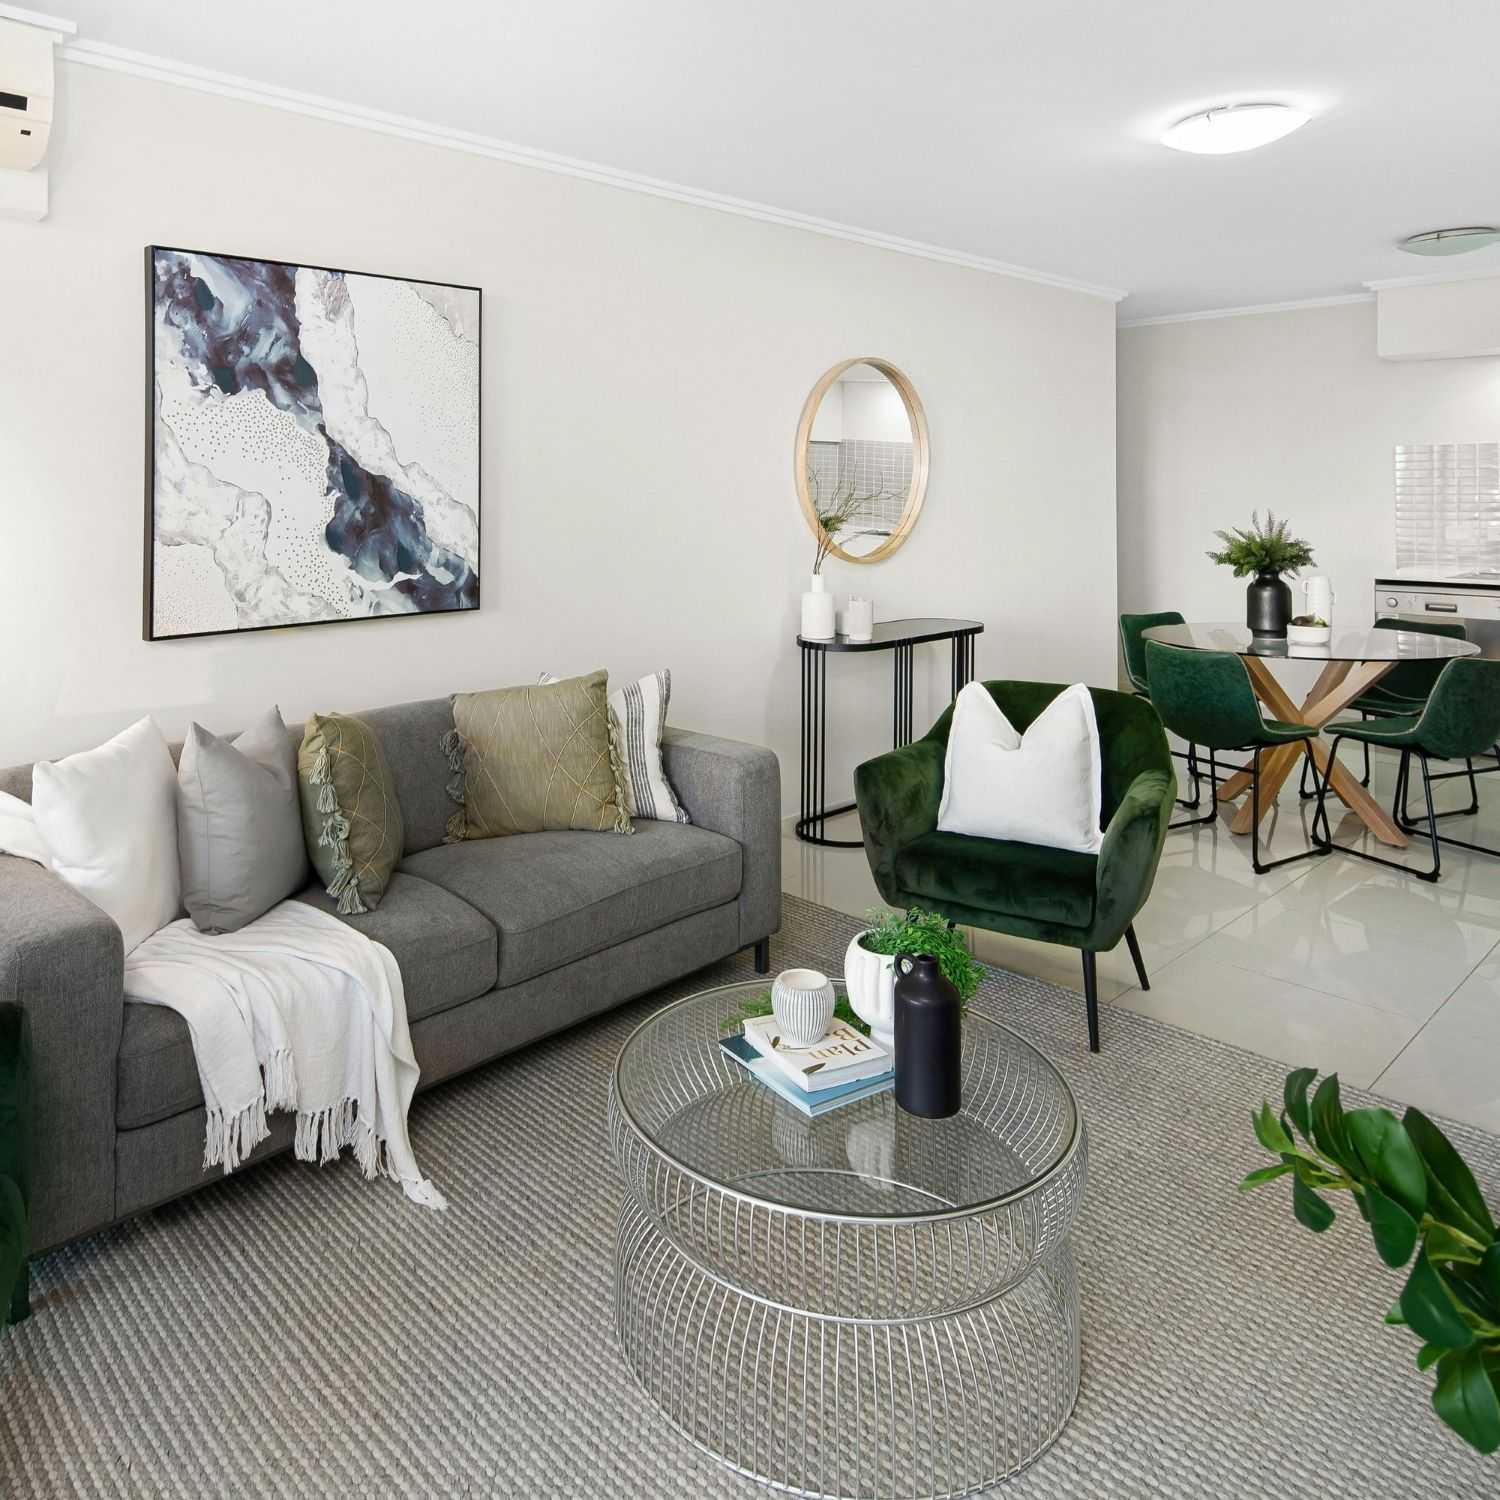
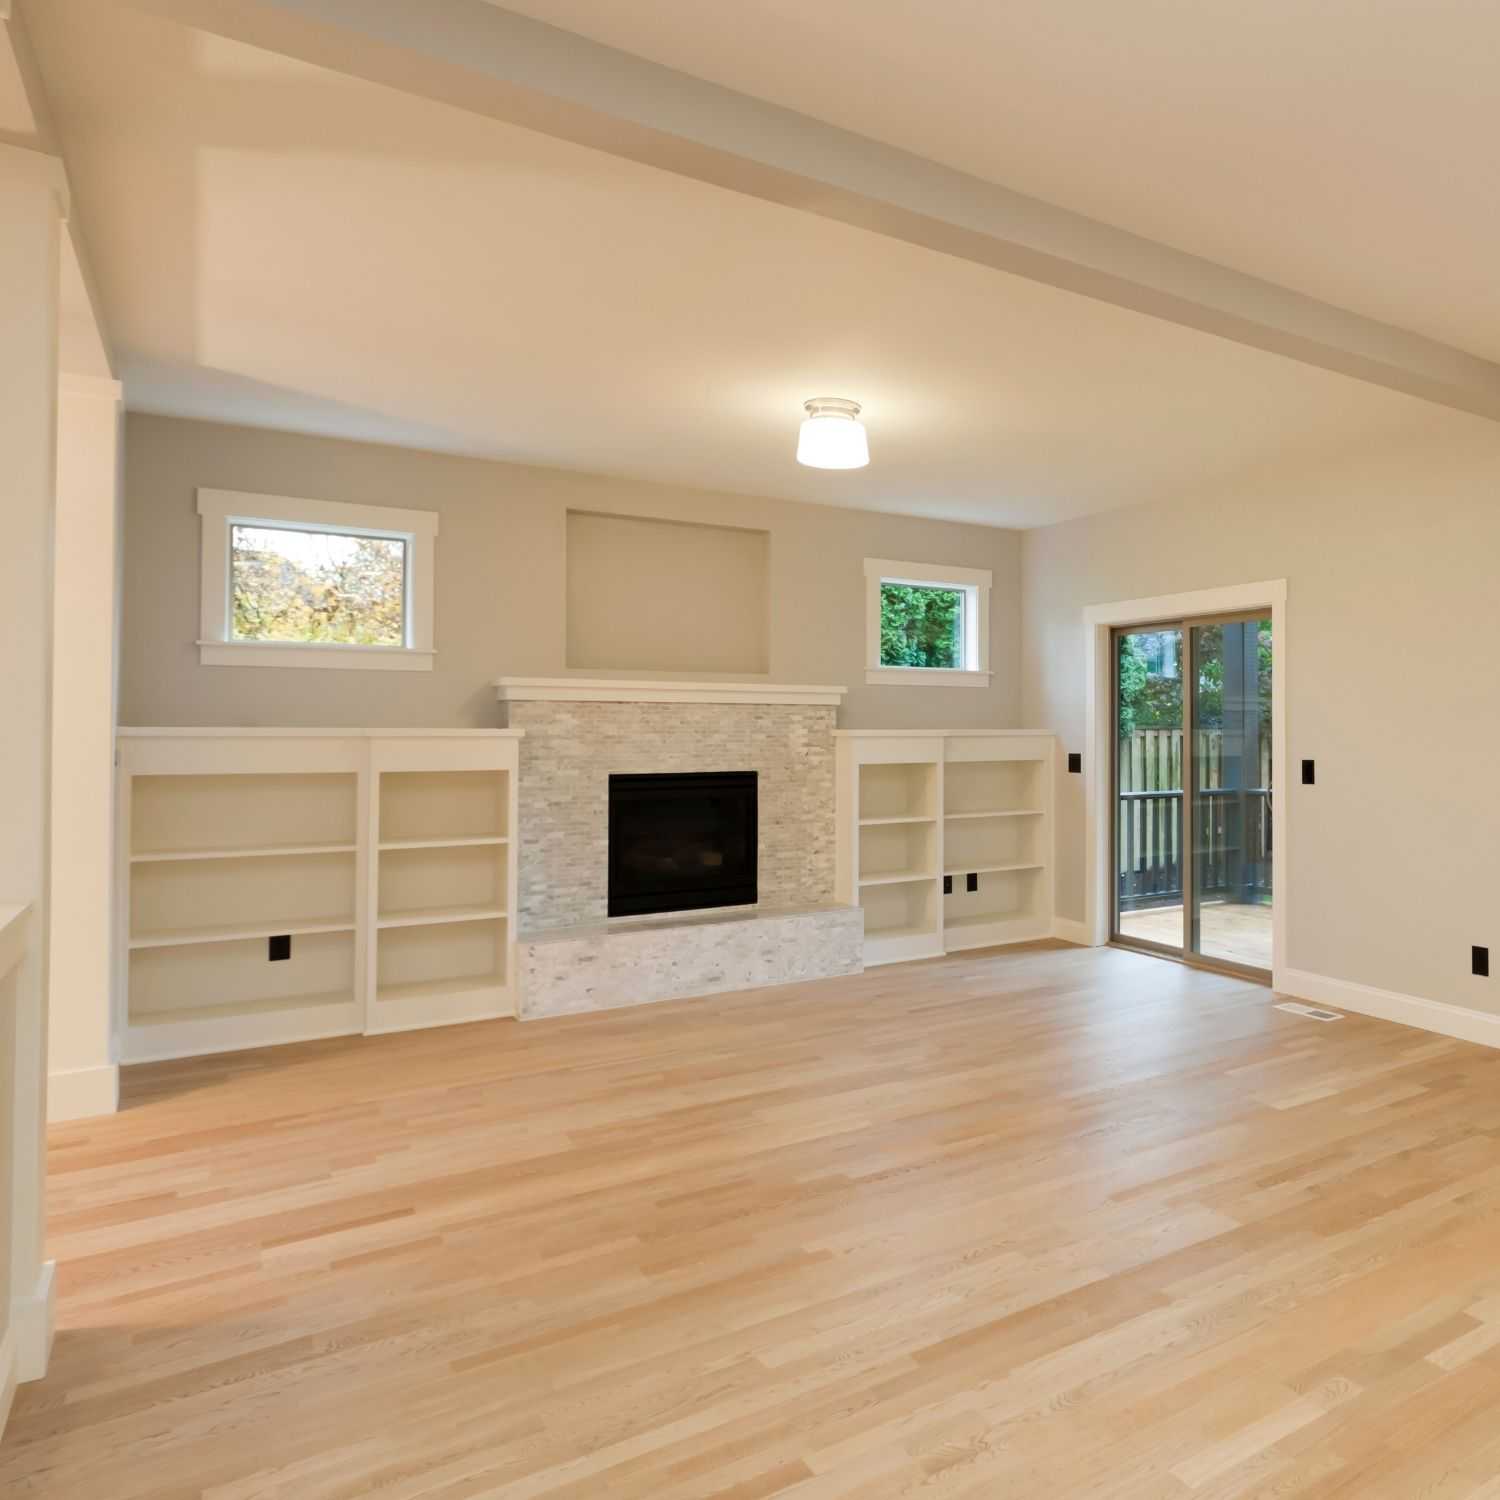
For the photos, invest in professional-grade images and a video walkthrough. Photograph key features of the property that potential guests would want to see. If you’re trying to attract families, feature an inviting living room with a fireplace. Show a functional kitchen that they can use. Show the view of the window so people will know what the surrounding community looks like. If you’re targeting business professionals, show a photo of a home office that they can use for work.
Step 5: Make your Vrbo Properties go Live
Once everything is set up, it’s time to make your property or properties go live. Submit all your listings and select the option to “Go live.”
This will make your properties appear as part of Vrbo’s listings.
To get guests to book, don’t forget to market it outside of Vrbo. While the platform has a wide reach, you can help along by marketing your properties on social media.
Make sure you go back to your listings now and then so you can update your property descriptions. If there are upgrades on the property, take new photos to show the new features.
List Your Property on Vrbo for Higher Rental Income
Getting higher rental income means putting your property on multiple letting platforms. Vrbo can significantly increase your rental income by attracting more guests. As long as you provide the right information and post photos that present the best features of your property, you’ll attract quality guests to book a stay.
Of course, managing your rental properties across different letting platforms like Airbnb and Vrbo would require experience and expertise. You want to avoid double bookings across platforms because that’ll lead to problems that could compromise your property’s ratings.
To ensure this doesn’t happen, partner with a property management company like City Relay. We use smart technology to monitor rental properties across multiple letting platforms. Our system consolidates bookings to ensure there won’t be double bookings and customer inquiries from multiple platforms are attended to. You’ll also benefit from our in-house cleaning and maintenance service to prepare your property between bookings. This ensures your next guest will arrive at a pristine apartment.
Find out how else we can help you manage your Vrbo rental properties and maximise it’s earning potential. Contact us to learn more about your end-to-end property management services.
